Tile tools explained for cutting, setting, grouting, and cleanup
a[data-rs-seo-link]{text-decoration:underline!important;color:#1a56db!important;cursor:pointer!important;}a[data-rs-seo-link]{text-decoration:underline!important;color:#1a56db!important;cursor:pointer!important;}
Tile tools should be planned as an installation system, not bought as separate gadgets. A clean installation depends on accurate layout, a cutter matched to the tile material, a trowel that can achieve proper mortar contact, spacing or leveling aids suited to the tile format, and cleanup tools that protect fresh joints. For many projects, the best kit is not the largest one. It is the kit matched to tile size, substrate condition, cut complexity, grout type, and dust-control needs. This guide explains the main categories of tile tools, where each one adds value, and when it makes sense to buy, rent, or upgrade.
Start with the job sequence, not the tool aisle
Most tile failures do not start because a specialty tool is missing. They usually begin when measuring, substrate preparation, cutting, mortar application, or cleanup is rushed. A practical tool list should follow the installation sequence from layout to final wash.
| Project stage | Common tile tools | What they help control |
|---|---|---|
| Measuring and layout | Tape measure, chalk line, laser level, square, straightedge | Centered layout, consistent cuts, level reference lines |
| Substrate check | Straightedge, level, scraper, sanding block, vacuum | Flatness, debris removal, bond readiness |
| Cutting and shaping | Manual tile cutter, wet saw, nippers, diamond hole saw, grinder | Clean edges, pipe openings, corner cuts, reduced breakage |
| Setting | Notched trowel, margin trowel, mixing paddle, buckets | Mortar consistency, ridge direction, mortar coverage |
| Spacing and leveling | Spacers, wedges, leveling clips, tile leveling pliers | Joint consistency, lippage reduction, alignment |
| Grouting and finishing | Grout float, sponges, microfiber cloths, caulk gun | Joint fill, haze removal, movement joints, final appearance |
This sequence also helps prevent overbuying. A small backsplash may only need a manual cutter, basic layout tools, and standard grout tools. A porcelain floor with many outlets, vents, or plumbing penetrations may justify a wet saw, diamond hole saws, and better dust-control equipment.
Measuring and layout tools decide how professional the job looks
Layout tools cost little compared with wasted tile. A tape measure and pencil are only the start. A square keeps cuts true at walls and corners. A chalk line provides a long reference line on floors, while a laser level is useful for wall tile, shower surrounds, and large rooms where small errors become visible over distance.
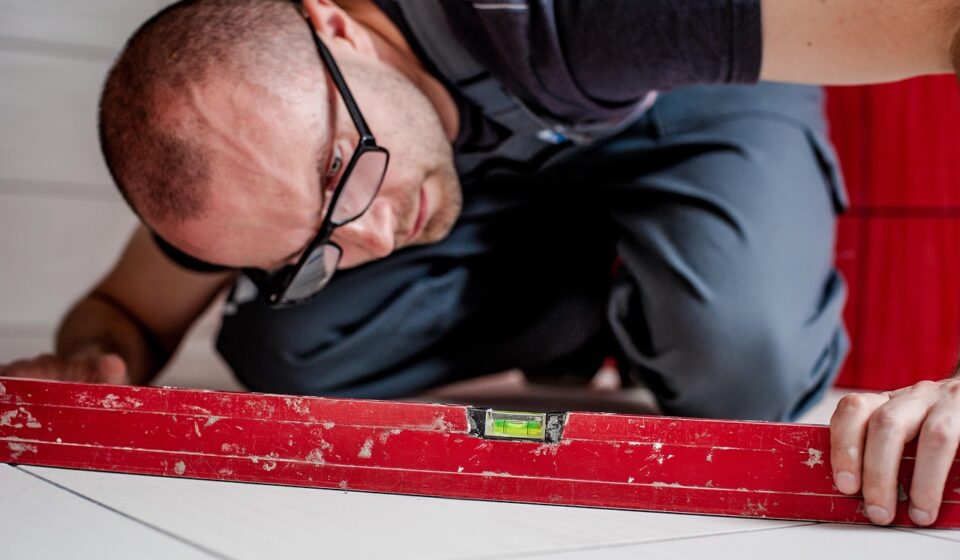
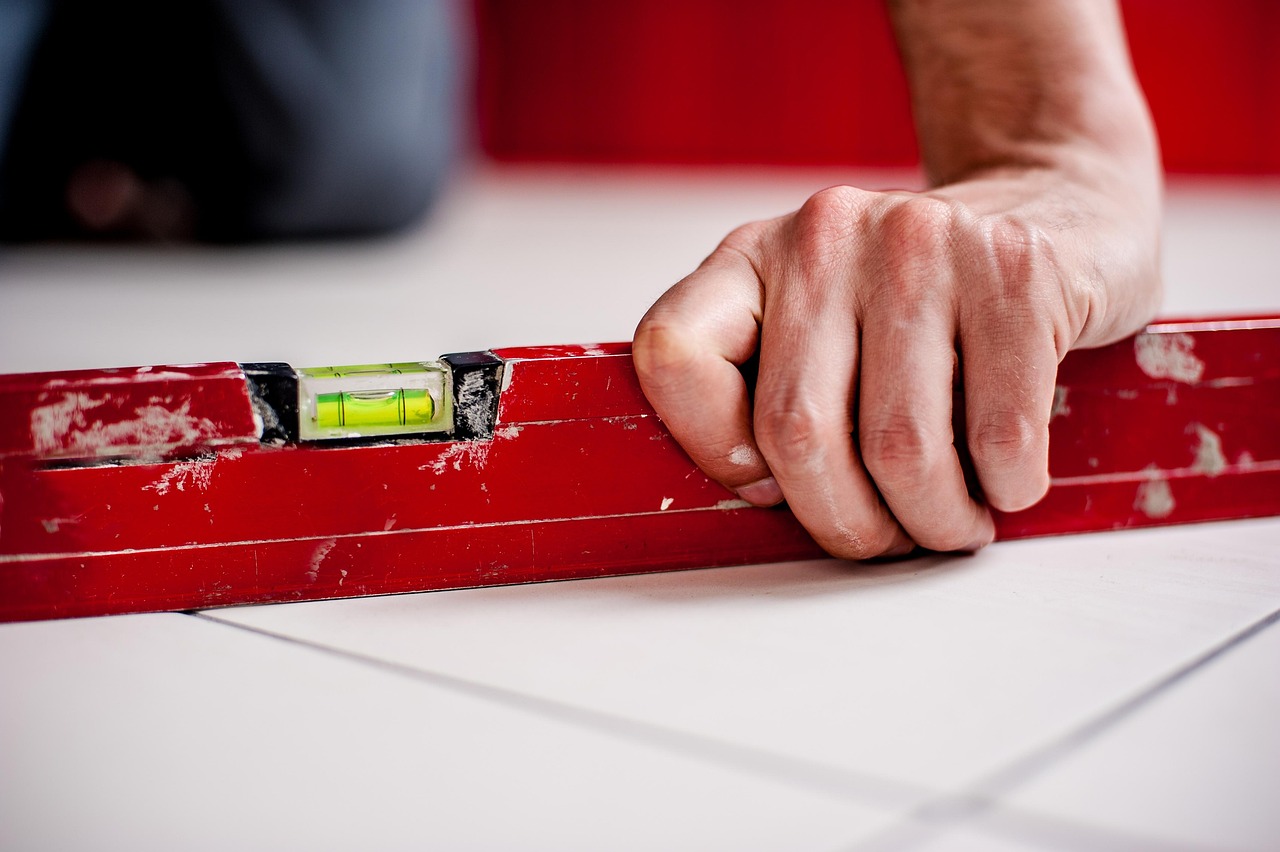
A straightedge is one of the most overlooked tile tools. It can reveal humps, dips, or bowed areas before mortar is mixed. Tile does not hide poor flatness; large-format tile often makes it more obvious. If the surface is uneven, the installer may need surface preparation before setting begins. That may involve scraping high spots, removing old adhesive residue, or using an appropriate patching or leveling product according to the material manufacturer’s instructions.
Good layout also reduces awkward sliver cuts. Before setting the first tile, dry-lay a row or mark the tile modules with the grout joint spacing included. This helps balance perimeter cuts and decide whether the starting line should shift. The goal is not only symmetry. It is also to avoid narrow pieces that are difficult to cut, set, and keep aligned.
Cutting tools should match the tile material and cut shape
Cutting is where many buyers either overspend or compromise too much. The right choice depends on tile hardness, surface finish, cut quantity, and whether the cut edge will remain visible.
- Manual score-and-snap cutters are efficient for straight cuts in many ceramic and porcelain tiles. They are quiet, fast, and useful when repeated straight cuts are needed.
- Wet tile saws are better for dense porcelain, stone, thick tile, miters, and cleaner visible edges. They are often worth renting for a single demanding project.
- Tile nippers help shape small curves or remove small bites around irregular edges, but they are not a substitute for a clean straight cutter.
- Angle grinders with diamond blades can make L-cuts, notches, and trimming cuts, but they require careful control and appropriate dust management.
- Diamond hole saws are used for plumbing penetrations, valves, and other round openings. They should be sized to the fixture and used with steady pressure.
Dust control is not optional when cutting materials that may contain crystalline silica, such as ceramic, porcelain, masonry, or stone products. In the United States, OSHA’s construction silica rule emphasizes controls such as wet methods and suitable dust collection for tasks that release respirable dust. For tool planning, that means a wet saw, water-fed cutting method, HEPA-rated cleanup equipment, or task-appropriate local exhaust can be as important as the cutter itself.
For finished edges, the blade matters as much as the machine. A continuous-rim diamond blade is commonly used where a smoother tile edge is needed, while segmented blades are more aggressive and can chip delicate surfaces. Glass, polished porcelain, and natural stone may need blades made specifically for those materials. Always test on a spare tile before committing to visible cuts.
Setting tools influence bond, flatness, and working time
The notched trowel is the most important setting tool because it controls how mortar is distributed under the tile. Industry standards such as ANSI A108 are widely used in tile installation specifications, and common installation guidance distinguishes between dry interior areas and wet or exterior areas when discussing required mortar contact. The practical lesson is simple: select the trowel notch to achieve coverage, not just to match a package suggestion.
There is no universal trowel size for every tile. Smaller wall tile may use a smaller notch. Larger tile, textured backs, or less-flat substrates may require a larger notch or a different technique. The reliable method is to set a tile, lift it, and check whether the mortar is transferring adequately to the back of the tile. If ridges remain uncollapsed or corners lack contact, adjust the trowel angle, mortar consistency, directional troweling, or notch size before continuing.
A margin trowel is useful for mixing small amounts, cleaning bucket edges, back-buttering tile, and placing mortar in tight areas. A mixing paddle and sturdy bucket help keep mortar consistent, but mixing speed and water ratio still need to follow the mortar manufacturer’s instructions. Too much water can weaken performance; too little can reduce workability and coverage.
Spacers and leveling systems are alignment aids, not shortcuts
Tile spacers are simple, but they solve a real problem: inconsistent grout joints. They are especially useful on grid layouts and small-format tile. However, spacers do not correct poor layout, warped tile, or an uneven substrate. They only maintain distance between tiles while the mortar remains workable.
Tile leveling clips and wedges can help reduce lippage on larger tiles, planks, and installations where visual flatness matters. They are most useful when paired with careful substrate preparation and correct mortar coverage. Treat them as alignment aids rather than clamps that can force tile into place. Over-tightening can move tile, squeeze mortar unevenly, or create stress at the edge.
Large-format tile deserves special attention. Longer tiles may have some inherent warpage, and offset patterns can make edge height differences more visible. Before setting, check the manufacturer’s guidance for recommended offset limits and review the tile faces under jobsite lighting. This check supports planning, but it does not replace project specifications. See also: Buying Guides.
Grouting and cleanup tools protect the final appearance
Grouting looks simple until haze, pinholes, washed-out joints, or uneven color appear. A rubber grout float presses grout into joints and removes excess from the tile face. Holding the float at an angle helps pack the joints; moving diagonally across joints reduces the chance of pulling grout out.
Sponges should be clean, damp, and rinsed often. A saturated sponge can add too much water to the surface, especially with cement-based grout. Microfiber cloths are useful for final haze removal after the grout firms up. Epoxy grout and rapid-setting products may require tighter timing and specific cleaning pads or additives, so the product instructions should control the process.
Movement joints and changes of plane should not be filled as if they are ordinary grout joints. A caulk gun, suitable sealant, and smoothing tool are part of the finishing kit when walls meet floors, inside corners change direction, or tile meets dissimilar materials. This is not only about appearance; it helps accommodate movement that rigid grout is not designed to absorb.
When to buy, rent, or upgrade tile tools
Budget decisions should follow frequency and precision. Buy tools that are used throughout the project and likely to be reused. Rent tools that are expensive, bulky, or needed for only one phase. Upgrade tools when the tile material is unforgiving or when poor accuracy would create visible waste.
| Tool decision | Good candidates | Why it makes sense |
|---|---|---|
| Buy basic | Tape measure, square, buckets, margin trowel, grout float, sponges | Low cost, repeated use, easy to store |
| Buy project-specific | Notched trowels, spacers, leveling clips, hole saws | Must match tile size, joint width, and fixture layout |
| Rent or borrow | Wet saw, large mixing drill, specialty polishing tools | Higher cost and limited use for many DIY projects |
| Upgrade | Diamond blades, snap cutter, laser level, dust extraction | Improves accuracy, edge quality, safety, or efficiency |
For readers comparing general hardware and installation equipment, the tools and accessories section is a useful place to continue exploring related categories without treating every tile project as the same.
Safety and maintenance deserve a place in the tool list
Safety gear is part of the tile tool system. Eye protection is necessary when cutting, snapping, grinding, or chipping tile. Gloves help with sharp edges, but they should not reduce control around rotating tools. Hearing protection may be needed around saws and grinders. Respiratory protection should be selected based on the task, material, and dust controls in place, not added as an afterthought.
Maintenance also affects results. Clean trowels before mortar hardens in the notches. Rinse sponges thoroughly and replace them when they start leaving grit behind. Inspect diamond blades for wear, cracks, or glazing. Keep manual cutter rails clean so the scoring wheel moves smoothly. A tool that is present but dirty, dull, or out of alignment can cause the same problems as using the wrong tool.
Frequently asked questions
What tile tools does a beginner need first?
A beginner usually needs measuring and layout tools, a cutter suited to the tile, a notched trowel matched to the tile size, a margin trowel, buckets, spacers, a grout float, sponges, and basic safety gear. The cutter is the main variable because ceramic, porcelain, stone, and glass do not all cut the same way.
Is a wet saw necessary for tile installation?
Not always. A manual cutter can handle many straight cuts in ceramic and some porcelain tile. A wet saw becomes more useful for dense porcelain, stone, thick tile, miters, repeated precision cuts, and visible edges where chipping would be unacceptable.
How do I choose a notched trowel?
Choose a notched trowel by checking whether it achieves adequate mortar transfer, not by relying on size alone. Set a tile, lift it, and inspect the back. If coverage is poor, adjust technique, mortar consistency, or notch size before continuing.
Do tile leveling clips replace good surface preparation?
No. Leveling clips can help align tile edges while mortar cures, but they do not flatten a bad substrate or fix poor layout. Flatness, mortar coverage, and careful setting technique still matter.
What is the most overlooked tile tool?
A long straightedge is often overlooked. It helps identify substrate flatness issues before installation, supports layout decisions, and reduces the chance of discovering high or low areas after tile setting has already started.