Electrical wiring tools for safer, cleaner installations
a[data-rs-seo-link]{text-decoration:underline!important;color:#1a56db!important;cursor:pointer!important;}a[data-rs-seo-link]{text-decoration:underline!important;color:#1a56db!important;cursor:pointer!important;}
What a practical wiring tool set should cover
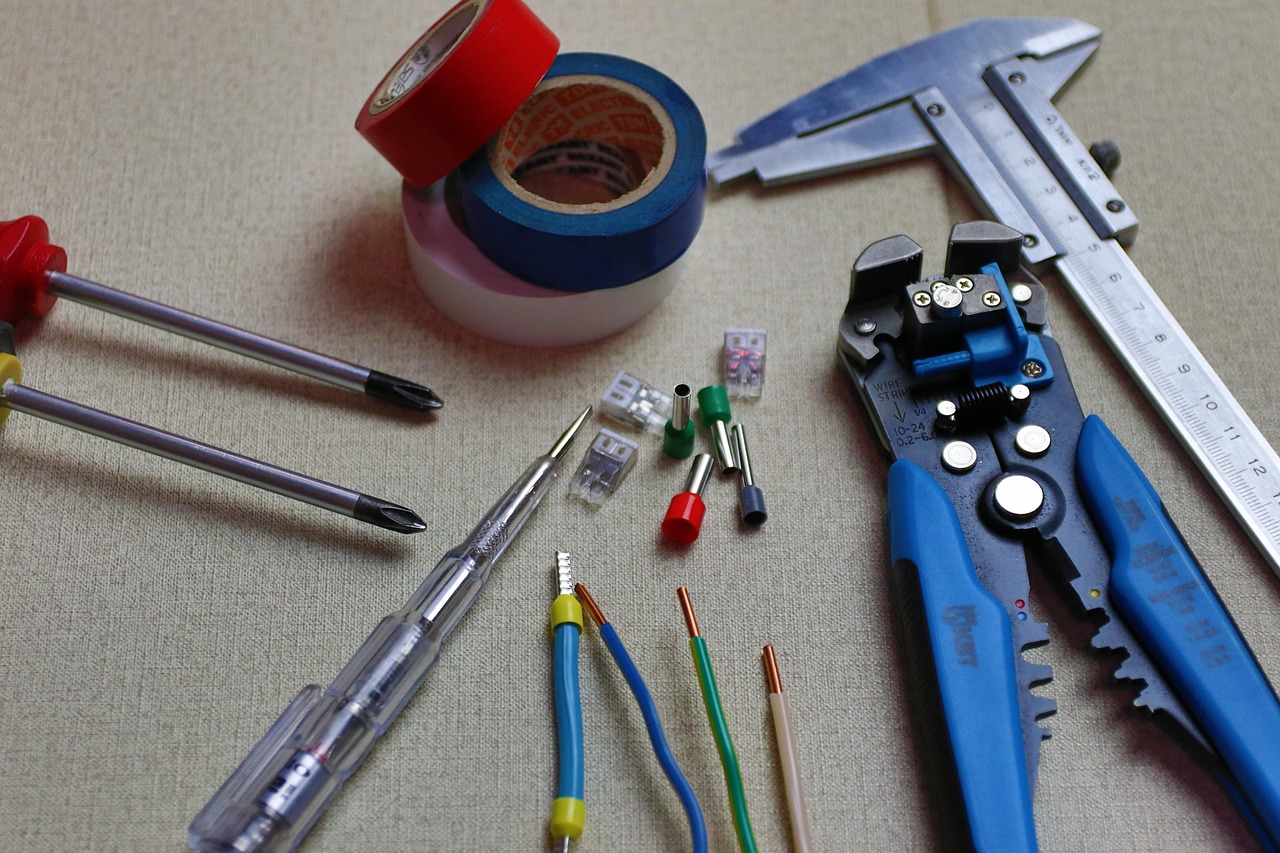
Electrical wiring tools are more than cutters, pliers, and screwdrivers. A reliable kit should help the user identify circuits, verify that equipment is de-energized, cut and strip conductors cleanly, route cable without damage, make terminations to the manufacturer’s specifications, and leave clear labeling for the next inspection or repair.
For homeowners, facilities teams, and buyers comparing tool categories, the safest approach is to match each tool to a defined task instead of buying every item in a catalog. Building wiring can involve permit rules, local code adoption, and shock or fire hazards. Any work beyond basic accessory replacement should be checked against local requirements and, when necessary, handled by a qualified electrician.
This guide focuses on tool purpose, selection logic, and common limitations. It does not replace training, licensing, or the National Electrical Code, but it can help readers understand why the right tool matters before any conductor is cut.
Start with safety and verification tools
The first group of electrical wiring tools should answer one question before physical work begins: is the circuit actually safe to touch? The Occupational Safety and Health Administration treats electrical work around exposed energized conductors or circuit parts as a serious hazard and requires suitable protective methods when tools or handling equipment might contact energized parts. NFPA identifies the National Electrical Code as the benchmark for safe electrical design, installation, and inspection in the United States, with the 2026 edition listed as the current edition as of 2026. Local jurisdictions may adopt editions on different schedules, so tool choice and installation methods still need to follow the authority having jurisdiction.
A non-contact voltage tester is useful for an initial screen, especially when identifying a cable, receptacle, or switch leg. It should not be treated as final proof that a conductor is de-energized. Batteries, shielding, induced voltage, device sensitivity, and user technique can affect results. A multimeter or two-pole voltage tester gives a more direct check when used correctly. A sound practice is to test the instrument on a known live source, test the circuit being worked on, and then test the instrument again on a known live source.
Insulated hand tools have a narrower role than many people assume. They are not permission to work live, and they do not remove arc-flash or equipment hazards. Their value is risk reduction when a tool could unexpectedly contact an energized part. Look for clear voltage ratings, intact insulation, and a design that leaves only the necessary working surface exposed. Tools with damaged insulation, deep cuts, melted areas, or loose handles should be removed from service.
- Voltage tester: Used to detect potential voltage before opening or handling equipment.
- Multimeter: Used for voltage, continuity, and basic troubleshooting when the user understands the meter category rating and setup.
- Clamp meter: Useful for measuring current without opening a conductor, subject to the meter’s rating and jaw capacity.
- Insulated screwdrivers and pliers: Useful for reducing contact risk, not for bypassing lockout or safe-work practices.
- Lighting and headlamps: Often overlooked, but poor visibility is a common cause of nicked conductors and misidentified terminals.
Cutting, stripping, and preparing conductors
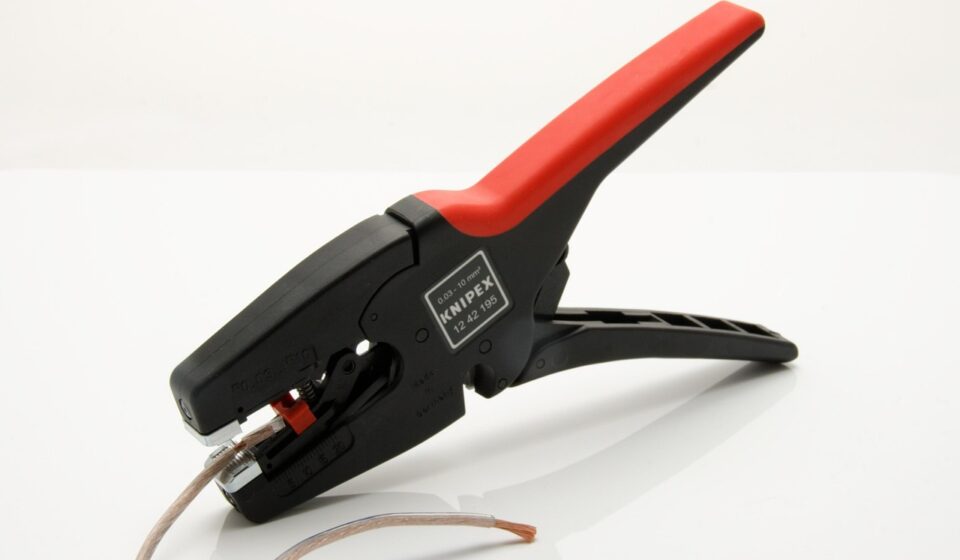
Many wiring defects start as small mechanical errors. A conductor nicked during stripping, a cable jacket cut too deeply, or a strand lost during preparation can weaken a termination and create heat under load. Wire strippers should match the conductor type and gauge range. Solid conductors, stranded conductors, low-voltage cable, and communication cable do not all respond well to the same universal tool.
For common branch-circuit work, a combination stripper may be acceptable when the gauge markings are accurate and the cutting edges are sharp. For repeated work, dedicated strippers reduce fatigue and make results more consistent. Cable rippers help open nonmetallic sheathed cable jackets, but they must be controlled so the internal conductor insulation is not scored. Cable cutters should shear cleanly rather than crush the conductor. A crushed copper or aluminum conductor may fit poorly into a connector even if it looks serviceable at first glance.
Preparation tools should also match the connector system. A crimp terminal is only as reliable as the terminal, conductor, and crimper combination. UL Solutions identifies several wire connector standards in the UL 486 family, including standards for wire connectors, splicing wire connectors, sealed connector systems, equipment wiring terminals, and ferrules. The practical takeaway is straightforward: use connectors that are listed or certified for the conductor material, conductor size, environment, and installation method, and use the application tool specified by the manufacturer.
| Task | Useful tool | What to check before use |
|---|---|---|
| Remove outer cable jacket | Cable ripper or controlled utility knife | Blade depth, hand position, and risk of scoring insulation |
| Strip conductor insulation | Gauge-matched wire stripper | Correct gauge hole and clean cut without nicking metal |
| Cut conductors | Cable cutter or diagonal cutter | Conductor material, cutter capacity, and edge condition |
| Crimp terminals | Ratchet crimper or manufacturer-specified tool | Terminal type, wire range, die profile, and pull integrity |
| Prepare ferrules | Ferrule crimper | Ferrule length, conductor size, and terminal compatibility |
Routing, pulling, and fastening tools
Routing tools protect the cable path as much as they speed up the job. Fish tapes, fish rods, glow rods, pull strings, cable rollers, and pulling lubricant are used to move conductors through walls, ceilings, raceways, and equipment pathways. The goal is not simply to get the wire from one end to the other. The goal is to avoid stretching, scraping, kinking, crushing, or overheating conductors during the pull.
Fish tape is often useful in conduit and straight runs, while fiberglass rods can be easier in attics, ceilings, and wall cavities. For longer raceway pulls, cable lubricant may reduce friction, but it should be suitable for the cable insulation and the installation environment. Do not substitute general-purpose oils or sprays unless the cable or connector manufacturer allows them. Chemicals that soften insulation or attract dust can create long-term problems that are not visible at installation.
Fastening tools also deserve attention. Cable staples, straps, clamps, bushings, and connectors should secure wiring without cutting into jackets or deforming raceways. A hammer and staple may be adequate for limited work, but overdriven staples can crush nonmetallic cable. Specialty cable staplers with depth control can improve consistency, provided the fasteners are rated for the cable type. Conduit work adds another layer: reamers, deburring tools, benders, locknut wrenches, and knockout tools help avoid sharp edges and poor enclosure fit.
Why torque tools matter
Torque screwdrivers and torque wrenches are increasingly important in panelboards, equipment terminals, breakers, lugs, and larger connectors. A loose termination can heat under load, while an over-tightened termination can damage threads, deform a conductor, or compromise the connector. The correct value comes from the equipment or connector manufacturer, not from feel. This is especially important when working with aluminum conductors, multi-strand conductors, or equipment terminals with marked torque requirements.
Termination and connection tools
Terminations are where tool quality, user technique, and product compatibility meet. A screwdriver that cams out of a terminal screw, a crimper that makes an under-compressed joint, or a connector used outside its listing can turn an otherwise neat installation into a failure point. For that reason, connection tools should be selected around the connector system rather than the other way around.
For screw terminals, use drivers that fit the recess accurately. Slotted screws, Phillips screws, square-drive screws, and combination heads are not interchangeable in practice, even when a driver seems to work. Poor fit damages the screw head and makes it harder to apply consistent torque. For wirenuts and push-in connectors, the installer must follow the connector’s conductor range, strip length, material rating, and reuse instructions. Some connectors are designed for copper only. Some are rated for specific combinations of solid and stranded conductors. Some sealed connectors are intended for damp or wet locations, while ordinary indoor connectors are not.
For crimped terminals, a ratcheting crimper is often more consistent than a basic stamped crimper because it helps complete the compression cycle. That advantage only applies when the die matches the terminal. Insulated terminals, non-insulated terminals, ferrules, coaxial connectors, and data connectors use different crimp geometries. A visually tight crimp is not the same as a properly formed crimp.
- Match metal to metal: Confirm copper-only, aluminum-only, or copper-aluminum compatibility before making a connection.
- Follow strip length: Too little exposed conductor may not seat fully; too much can leave bare metal outside the connector.
- Use the specified tool: Connector instructions often assume a particular crimp profile or torque method.
- Protect the enclosure: Bushings, clamps, and fittings help prevent abrasion where conductors enter boxes or raceways.
- Label before closing: Clear circuit identification reduces troubleshooting time and future mistakes.
Specialized tools for diagnostics and upgrades
Not every wiring project requires advanced diagnostic tools, but some situations benefit from them. A circuit tracer can help identify breakers and branch circuits in an existing building, particularly when panel directories are missing or inaccurate. A receptacle tester can identify certain common wiring conditions at outlets, but it cannot prove that an entire branch circuit is correct or code-compliant. A GFCI tester can help check trip function at protected receptacles, but results should be interpreted within the device instructions and the wiring system’s design.
Arc-fault and ground-fault protection have made diagnostics more important. The U.S. Consumer Product Safety Commission has described arc-fault circuit interrupters as providing enhanced protection from fires associated with unsafe home wiring conditions. That does not mean a handheld tool can diagnose every nuisance trip or wiring fault. Shared neutrals, damaged insulation, moisture, appliance leakage, poor terminations, and incorrect device selection can all complicate troubleshooting. When protective devices trip repeatedly, the safer response is not to replace the breaker blindly, but to identify the fault path and verify the circuit design. See also: Buying Guides.
Thermal imagers and infrared thermometers can also support maintenance by highlighting abnormal heating at panels, terminals, or equipment. They should be treated as screening tools, not final proof. Load level, surface reflectivity, ambient temperature, enclosure covers, and user skill affect results. A warm component may be normal under load, while a dangerous connection may not show a dramatic temperature rise during a brief inspection.
How to choose electrical wiring tools for the job
A sensible buying process starts with the work category. Occasional low-voltage accessory work, residential maintenance, commercial fit-out, industrial control wiring, and service equipment work do not require the same kit. Buyers should consider conductor sizes, connector types, work environment, applicable code edition, and inspection expectations before selecting tools.
For a small maintenance kit, the essentials often include a quality voltage tester, a properly rated multimeter, gauge-matched strippers, cable cutters, insulated screwdrivers, pliers, a flashlight or headlamp, a label maker, and a selection of listed connectors appropriate for the facility. For more involved work, add fish tape or rods, torque tools, crimpers matched to the terminals used, conduit tools, knockout tools, and circuit tracing equipment. For repeated professional work, durability and calibration support may matter more than the lowest purchase price.
Storage and inspection are part of tool choice. Electrical tools should be kept dry, clean, and organized so damaged insulation, missing guards, dull cutting edges, and worn markings are easy to spot. Test instruments need working batteries and leads rated for the measurement category. Crimpers and torque tools should be checked according to the manufacturer’s instructions, especially when they are used for production work or inspected installations.
For more hardware-related guides, see the Tools and Accessories section.
Common mistakes that good tools can help prevent
Good tools do not guarantee good workmanship, but they reduce the chance of repeatable errors. The most common problems are usually not dramatic at first: a nicked conductor, a loose terminal, an overfilled box, an unsupported cable, a connector used outside its rating, or a mislabeled circuit. Each one can be traced back to a decision made before the cover plate or panel cover went back on.
One mistake is using a knife as the default stripping tool. A knife can be useful in skilled hands, but it is also easy to cut too deeply. Another is using pliers to crimp terminals that require a matched die. A third is relying only on color memory instead of testing and labeling, especially in older buildings where renovations may have changed conductor use or circuit layout. Color conventions help, but they are not a substitute for verification.
Another issue is treating all connectors as universal. Listed connectors have limits. Conductor material, conductor size, number of conductors, temperature rating, enclosure type, and wet-location exposure can all affect suitability. When instructions call for a torque value, a torque tool should be used. When a connector requires a specific strip length, guessing can create either poor contact or exposed conductor.
The broader lesson is that electrical wiring tools should make the safe method easier to repeat. If a tool encourages shortcuts, damages materials, or hides uncertainty, it is the wrong tool for that task.
Frequently asked questions
What are the most essential electrical wiring tools?
The core set usually includes a voltage tester, a properly rated multimeter, wire strippers, cable cutters, insulated screwdrivers, pliers, lighting, labeling tools, and listed connectors. The exact kit depends on whether the work involves low-voltage devices, branch circuits, conduit, panels, or troubleshooting.
Are insulated tools required for every wiring job?
Insulated tools are valuable when there is a possibility of contact with energized parts, but they do not make live work safe by themselves. Circuits should be de-energized and verified whenever possible. Workplace rules, training, and hazard controls determine when specialized insulated tools and protective equipment are required.
Can a non-contact voltage tester prove a wire is dead?
No. A non-contact tester is a useful preliminary indicator, but it should not be the only verification method before touching conductors. A direct-contact tester or multimeter, used correctly and checked against a known live source before and after testing, provides a more reliable verification process.
Why do connector ratings matter?
Connector ratings define which conductors, materials, environments, and installation methods the connector is designed to handle. Using a connector outside those limits can cause poor contact, overheating, corrosion, or inspection rejection.
Should DIY users buy professional electrical wiring tools?
Quality tools can improve consistency, but they do not replace knowledge of wiring methods, permits, and local requirements. DIY users should limit work to tasks they are legally allowed and competent to perform, and bring in a qualified electrician for panel work, new circuits, repeated breaker trips, aluminum wiring concerns, or any uncertain condition.