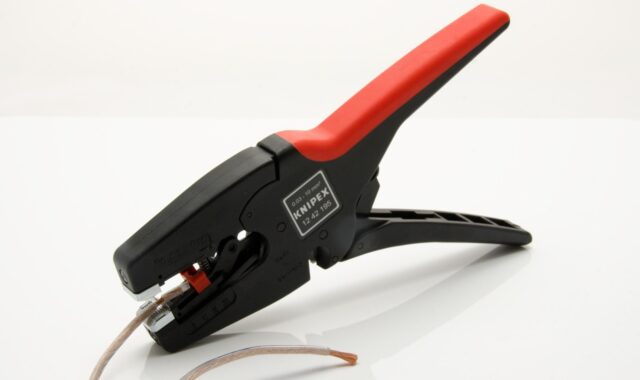
Carpet installation tools explained for stretch-in and glue-down projects
a[data-rs-seo-link]{text-decoration:underline!important;color:#1a56db!important;cursor:pointer!important;}a[data-rs-seo-link]{text-decoration:underline!important;color:#1a56db!important;cursor:pointer!important;}
What tools do you need to install carpet?
The right carpet installation tools depend on the installation method, carpet construction, substrate, and room layout. For most residential stretch-in carpet over cushion, a core kit includes measuring tools, a carpet knife, straightedge, tack strip tools, a knee kicker, a power stretcher, a wall trimmer, a stair tool, and seaming equipment when the room needs more than one carpet width. Glue-down and double-glue installations add adhesive tools, rollers, seam boards, and substrate preparation equipment.
Carpet is installed as a system. Floor preparation, cushion, tack strip, seams, stretching, trimming, and finishing each require different tools at different stages of the job. Skipping specialty tools may reduce upfront cost, but it increases the risk of wrinkles, open seams, uneven edges, callbacks, and premature repair work.
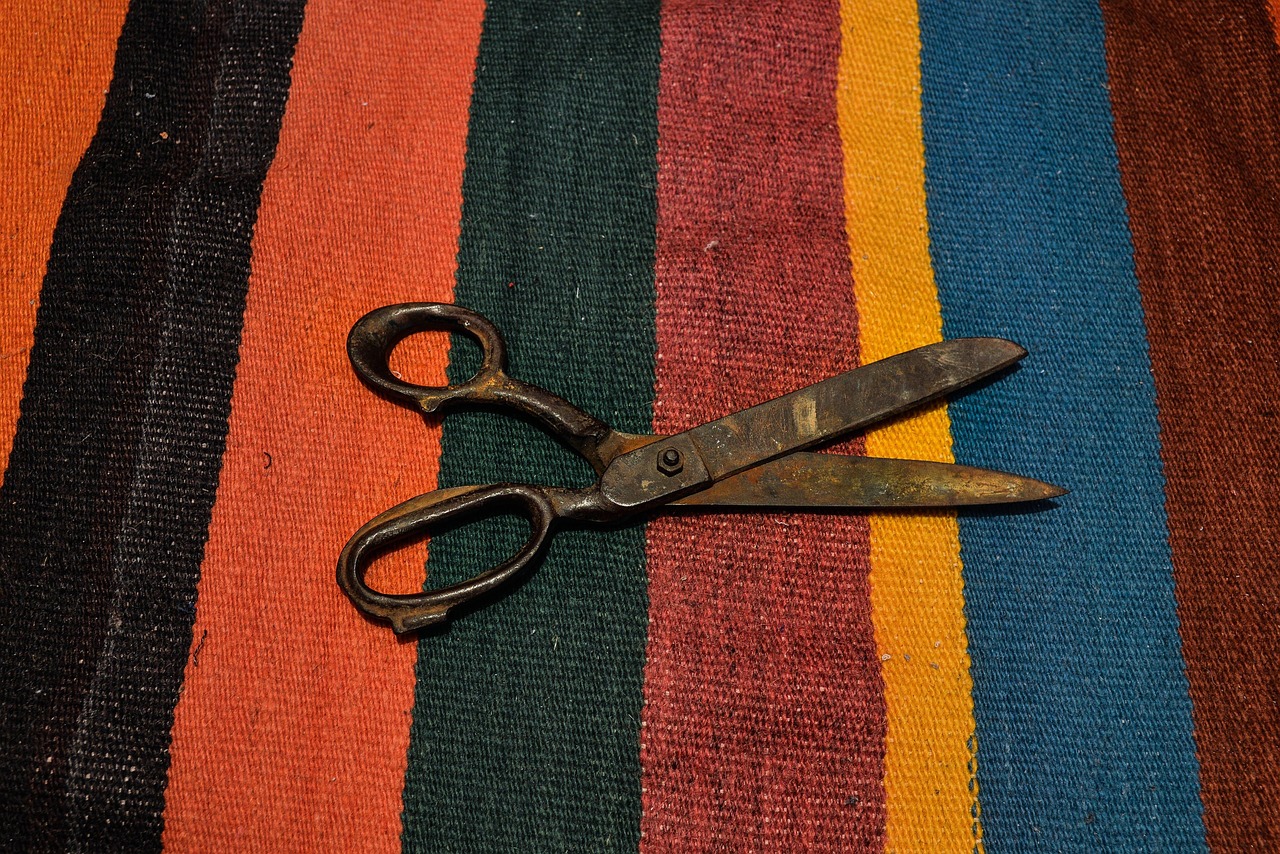
This guide focuses on practical tool selection rather than brand rankings. It draws on commonly referenced industry guidance, including Carpet and Rug Institute residential and commercial installation standards, CFI training materials, and general hand and power tool safety principles from OSHA.
The basic carpet installation tool groups
A useful way to plan a carpet tool kit is to group tools by job stage. This prevents a common beginner mistake: buying cutting tools and a knee kicker, then discovering that the job also needs a power stretcher, seam iron, seam roller, or stair tool.
| Job stage | Typical tools | Why they matter |
|---|---|---|
| Measuring and layout | Tape measure, straightedge, chalk line, square, marker | Controls carpet direction, seam placement, cuts, and waste. |
| Subfloor and edge preparation | Broom, scraper, pry bar, hammer, tack strip cutter, moisture or substrate testing tools when needed | Creates a clean base and secure perimeter before carpet is positioned. |
| Cutting and trimming | Carpet knife, utility knife, cushion-back cutter, loop-pile cutter, wall trimmer, shears | Produces accurate cuts without damaging yarn, backing, baseboards, or adjacent flooring. |
| Stretch-in positioning | Knee kicker, power stretcher, poles, cotton head for some loop-pile work, stair tool | Sets tension and seats the carpet onto tack strip. |
| Seaming | Seaming iron, seam tape, seam roller, seam weight, row runner or awl, seam board | Builds seams that are aligned, bonded, and flattened correctly. |
| Glue-down work | Adhesive trowel, roller, seam tools, broom, adhesive cleanup tools | Controls adhesive spread, open time, bond strength, and seam stability. |
| Safety and cleanup | Gloves, eye protection, knee pads, respirator or ventilation when required, blade container, vacuum | Reduces hazards from sharp blades, dust, adhesives, kneeling, and hot tools. |
For more hardware and jobsite equipment topics, visit the Tools and Accessories section.
Stretch-in carpet tools and what each one does
Stretch-in installation is common in homes because the carpet is installed over cushion and held at the perimeter by tack strip. This method needs tools that can position, tension, trim, and tuck the carpet without tearing the backing or distorting the pile.
Power stretcher
A power stretcher is the main tensioning tool for stretch-in carpet. It uses a head, extension poles, and a tail block braced against the opposite wall to stretch the carpet across the room. Industry guidance from the Carpet and Rug Institute treats power stretching as standard practice for proper residential installation because it helps reduce the likelihood of wrinkles and ripples after use.
A knee kicker is not a substitute for a power stretcher across an open room. It is useful for positioning and small adjustments, but it does not provide the same controlled, room-wide tension. For professional work, large rooms, patterned carpet, or carpet that must meet manufacturer requirements, the power stretcher is one of the tools most worth renting if it is not already owned.
Knee kicker
A knee kicker has a padded end and a gripper head. Installers use it to move carpet into position, engage edges on tack strip, and work in areas where a power stretcher cannot easily fit. It is especially useful near closets, short wall sections, doorways, and corners.
The limitation matters. Repeated hard use can strain the knee, and relying on the kicker alone can leave carpet under-stretched. A better approach is to use it as a positioning tool, then use the power stretcher for the main field tension.
Tack strip tools
Tack strip creates the perimeter grip for stretch-in carpet. Basic tools include a hammer, pry bar, tack strip cutter, snips, and sometimes masonry fasteners or adhesive depending on the substrate. Tack strip should be positioned with the correct gap from the wall so the carpet can be tucked into the gully after stretching.
Older strip should be inspected before reuse. Rust, missing pins, weak fastening, water damage, or poor placement can undermine the installation even when the carpet itself is new.
Wall trimmer and stair tool
A wall trimmer cuts carpet neatly along the wall after it has been stretched. A stair tool, sometimes called a bolster or tucker, helps tuck the trimmed edge between the tack strip and wall. On stairs, stair tools also help press carpet into angles and finish transitions.
These finishing tools affect appearance more than many people expect. A sharp knife can make cuts, but a wall trimmer and stair tool usually produce cleaner, more consistent edges, especially along long baseboards.
Cutting and seaming tools that affect the finished look
Carpet cutting is not just about separating material. Different backing types, pile styles, and seam locations call for different cutters. Using the wrong blade, or cutting through the face yarn carelessly, can make a seam more visible.
Carpet knife, utility knife, and specialty cutters
A carpet knife is built for heavy backing and frequent blade changes. Utility knives are useful for general jobsite tasks, but many installers prefer carpet knives for controlled cuts in carpet backing. A cushion-back cutter can separate certain carpet constructions from the backing side, while a loop-pile cutter helps protect loop yarns during seam preparation.
Sharp blades are safer and cleaner than dull blades because they require less force. Blades should be changed often, stored securely, and disposed of in a rigid container. Gloves can help protect hands, but they do not replace careful blade direction and stable cutting surfaces.
Straightedge, row runner, and square
A rigid straightedge guides long cuts. A square helps with accurate crosscuts and transitions. A row runner or awl can help locate rows in some carpet styles so cuts follow the construction rather than wandering across yarns.
These simple layout tools reduce waste. They also help avoid a costly problem: cutting a piece too short before checking pattern direction, room irregularities, doorways, and seam allowance.
Seaming iron, seam tape, roller, and weight
Rooms wider than the carpet roll usually require seams. Hot-melt seaming uses a seaming iron to activate adhesive on seam tape. A seam roller helps set the carpet into the adhesive, and a seam weight holds the area flat while the bond cools. Many training resources also call for a seam board or similar protection under the seam area so heat and adhesive are controlled. See also: Buying Guides.
Seam work is one of the clearest differences between a casual repair and a professional-looking installation. Good seaming depends on straight cuts, compatible tape, proper iron temperature, controlled speed, and enough cooling time before the seam is stressed.
Tools for glue-down and double-glue carpet installation
Glue-down carpet changes the tool list. Instead of stretching carpet over cushion and tack strip, the installer bonds carpet directly to the substrate or, in double-glue work, bonds cushion to the substrate and carpet to the cushion. This method is often associated with commercial spaces, although the exact specification depends on the carpet, backing, traffic level, and manufacturer instructions.
The most important glue-down tools include adhesive trowels, rollers, layout tools, seam tools, seam weights, and cleanup supplies. The trowel notch matters because it controls the amount of adhesive applied. Too little adhesive can reduce bond strength; too much can create telegraphing, slow curing, or cleanup problems. Installers should follow the adhesive and carpet manufacturer’s instructions for trowel size, open time, working time, and rolling requirements.
Substrate preparation tools also become more important in glue-down work. Scrapers, patching tools, moisture testing equipment, and cleaning tools may be needed before adhesive is opened. A floor that looks flat and clean may still have contaminants, excessive moisture, or old adhesive residue that interferes with bonding.
Double-glue work adds more control points. CFI training materials list tools such as a power stretcher, rollers, seaming iron, seam board, seam weight, stay nails, and adhesive equipment for certain double-glue methods. The exact tool set should match the system being installed, not a generic checklist.
Buy, rent, or skip?
Tool decisions depend on whether the project is a one-room repair, a full-house installation, or recurring professional work. Some carpet installation tools are inexpensive enough to own. Others are costly, bulky, or rarely used by homeowners, making rental more practical.
| Tool | Buy if | Rent or borrow if | Do not skip when |
|---|---|---|---|
| Carpet knife and blades | You are doing any carpet cutting. | Usually not worth renting. | Always needed for cutting and trimming. |
| Straightedge and tape measure | You do layout or repeated home projects. | Rarely necessary to rent. | Accurate cuts and seam placement matter. |
| Knee kicker | You do repairs, small areas, or repeated installations. | You only need it for one room. | Edges, corners, and short stretches must be positioned. |
| Power stretcher | You install carpet professionally or frequently. | You are doing a single stretch-in project. | The room requires full-field stretch and long-term wrinkle control. |
| Seaming iron and roller | You expect multiple seam jobs. | The project has only one or two seams. | Two carpet sections must be joined. |
| Wall trimmer and stair tool | You want cleaner edges or will do multiple rooms. | You are handling a one-time job. | Long wall cuts, stairs, or neat tucked edges are required. |
| Adhesive trowel and roller | You are doing glue-down work. | A large roller may be better rented. | Manufacturer instructions require a specific spread rate or rolling step. |
In general, homeowners should not skip the power stretcher on a stretch-in room just because a knee kicker is available. If the budget does not support buying one, rental is usually the safer choice. For complex stairs, patterned carpet, large rooms, or expensive material, hiring a trained installer may cost less than correcting a poor installation later.
Safety, ergonomics, and jobsite control
Carpet installation combines sharp blades, hot seaming irons, adhesives, dust, tack strips, kneeling, and repetitive force. Tool safety is not separate from installation quality. Rushed or unsafe work often leads to inaccurate cuts and poor finishing.
- Use eye and hand protection when hazards are present. General OSHA hand and power tool guidance emphasizes appropriate personal protective equipment for hazards such as flying objects, dust, and tool contact.
- Control blades. Cut away from the body when possible, retract or cover blades when not in use, and dispose of used blades in a rigid container.
- Protect knees. Carpet work often requires kneeling for long periods. Knee pads and task rotation reduce strain, especially when using a knee kicker or working on stairs.
- Respect hot tools. Seaming irons can burn carpet, skin, cushion, or nearby materials if left unattended or set at the wrong temperature.
- Ventilate when using adhesives. Follow the adhesive manufacturer’s instructions for ventilation, open time, cleanup, and storage.
- Keep the work area clear. Tack strips, loose blades, extension cords, and scrap carpet can create trip and puncture hazards.
Power tools and heated tools should be inspected before use. Damaged cords, missing guards, unstable handles, or contaminated working surfaces should be corrected before the job begins.
How to choose the right tool list for your project
Before buying or renting tools, define the installation method and the risk points in the room. A small closet repair does not need the same equipment as a living room with seams, stairs, patterned carpet, and multiple door transitions.
- Identify the method. Is it stretch-in over cushion, direct glue-down, double-glue, stair installation, or a repair?
- Check carpet construction. Loop pile, cut pile, patterned carpet, cushion-backed carpet, and commercial backing can require different cutters, stretcher heads, or seam methods.
- Map seams and direction. Plan seam placement before cutting. Consider traffic, light direction, roll width, and pattern alignment.
- Inspect the substrate. Look for moisture concerns, uneven areas, old adhesive, damaged tack strip, squeaks, or debris.
- Match tools to manufacturer instructions. When instructions specify a tool, adhesive spread rate, roller weight, or seaming method, that guidance should control the job.
- Decide what to rent. Power stretchers, seaming kits, rollers, and specialty tools are often more practical to rent for one-time work.
The practical takeaway is simple: a carpet tool list should not start with a shopping cart. It should start with the installation method. Stretch-in work is tension-driven; glue-down work is bond-driven; seam-heavy work is precision-driven. The tools should follow those requirements.
Frequently asked questions
Can carpet be installed with only a knee kicker?
A knee kicker can position carpet and help with small areas, but it should not be treated as a replacement for a power stretcher in a typical stretch-in room. Industry installation guidance commonly points to power stretching as the standard method for achieving proper tension and reducing wrinkles.
Which carpet installation tools should a homeowner buy first?
For small repairs, a homeowner may start with a carpet knife, extra blades, tape measure, straightedge, knee pads, and a stair tool or tucking tool. For a full room, the list expands to include a knee kicker, power stretcher, wall trimmer, tack strip tools, and seaming tools if a seam is required.
Is a power stretcher worth renting?
For most one-time stretch-in installations, renting a power stretcher is more practical than buying one. It is especially worth renting for larger rooms, wall-to-wall carpet, and any job where wrinkles or loose carpet would be difficult to correct later.
Do glue-down carpet jobs need the same tools as stretch-in jobs?
No. Glue-down jobs rely more on adhesive trowels, rollers, substrate preparation tools, seam control, and cleanup supplies. Stretch-in jobs rely more on tack strip, cushion, knee kickers, power stretchers, and edge finishing tools.
What tool makes carpet seams look better?
No single tool guarantees an invisible seam, but the critical tools are a sharp carpet knife or appropriate cutter, straightedge, row-finding tool when needed, seaming iron, seam tape, roller, seam board, and seam weight. Technique, carpet type, pile direction, and lighting also affect seam visibility.
The bottom line
Carpet installation tools are not interchangeable. Cutting tools shape the material, seaming tools control joins, stretchers create tension, and finishing tools make edges look clean. For stretch-in carpet, the power stretcher and knee kicker perform different jobs. For glue-down carpet, adhesive control and substrate preparation become central. The most reliable tool list is the one built around the installation method, manufacturer instructions, and room conditions. Buying basic hand tools and renting specialty equipment is often the most practical path for occasional projects, while professional installers benefit from owning a complete, well-maintained kit.