Bicycle tools to build a practical home repair kit
a[data-rs-seo-link]{text-decoration:underline!important;color:#1a56db!important;cursor:pointer!important;}a[data-rs-seo-link]{text-decoration:underline!important;color:#1a56db!important;cursor:pointer!important;}
Start with the jobs your bike actually needs
Bicycle tools are easier to choose when the kit is based on the repairs you will actually perform, not on the largest boxed set available. Most riders need tools for tire inflation, puncture repair, bolt adjustment, chain cleaning, drivetrain inspection, and basic brake setup. More advanced work, including hydraulic brake bleeding, bottom bracket replacement, suspension service, or e-bike diagnostics, requires component-specific tools and reliable service instructions. A practical kit should grow in stages: carry tools for roadside problems, keep workshop tools for repeat maintenance, and buy specialty tools only after confirming the standard used on your bicycle.
This matters because modern bicycles are less universal than they may look. A hex key may fit many bolts, but cranksets, bottom brackets, cassettes, disc brakes, tubeless valves, thru-axles, and electronic systems can all use different interfaces. Manufacturer manuals from Shimano and SRAM consistently direct users to model-specific instructions, torque values, and appropriate tools. That does not make home maintenance impractical. It means a good kit is built around fit, accuracy, and safety.

For more general workshop and material guides, see the Breezcats Tools and Accessories section.
The core bicycle tools most riders should own first
The first layer of a home kit should cover frequent, low-risk maintenance. These tools do not require deep mechanical experience, but they do require careful use and regular inspection.
- Floor pump with a pressure gauge: Proper tire pressure reduces pinch flats, improves control, and helps tires wear more evenly. Choose a pump head that fits Presta and Schrader valves if you maintain more than one bike.
- Tire levers and patch supplies: Plastic tire levers protect rims better than metal levers in most home repairs. For tubeless systems, add plugs, sealant, valve cores, and a valve-core remover.
- Hex keys: Bicycles commonly use metric hex fasteners. A quality 2 mm to 10 mm set covers many controls, stems, seatposts, racks, bottle cages, and accessories.
- Torx keys: Disc brake rotors, some cockpit parts, and certain drivetrains often use Torx fittings, especially T25. Confirm what your bike uses before buying a large set.
- Screwdrivers: Small flat and Phillips screwdrivers still appear on limit screws, accessory mounts, and older components.
- Chain lubricant and cleaning brushes: Drivetrain care is one of the most valuable home maintenance tasks because dirt and dry links increase wear.
- Work gloves, rags, and eye protection: Consumables are not glamorous, but they keep the job cleaner and safer.
For many riders, these basics solve most day-to-day issues and help prevent overbuying. A cyclist with a commuter bike, for example, may not need a cassette lockring tool immediately. A rider who swaps wheels or replaces chains often will reach the point of needing drivetrain-specific tools sooner.
Torque tools are no longer optional for many repairs
A torque wrench deserves special attention because bicycles increasingly use lightweight aluminum, carbon fiber, thin-wall components, and small fasteners. The purpose of a torque wrench is not simply to make bolts tight. It is to tighten them within the range specified by the component maker. Too little torque can allow parts to slip. Too much torque can damage threads, crush carbon parts, distort clamps, or create hidden stress.
Shimano dealer manuals and SRAM service information commonly list torque values in newton-meters for specific parts and assemblies. Park Tool’s professional catalog also separates torque tools as a major workshop category, reflecting how common measured tightening has become in bicycle service. The practical takeaway is direct: if you adjust stems, seatposts, handlebars, brake calipers, crank bolts, pedals, or carbon components, use the torque value printed on the part or stated in the relevant service manual.
A home mechanic usually benefits from two torque ranges. A small-range wrench, often covering roughly 2 to 14 N·m depending on model, suits stems, seat clamps, controls, and brake hardware. A higher-range wrench is used for crank bolts, cassette lockrings, bottom brackets, and some pedals. Do not assume one wrench covers every job accurately. Torque tools are most reliable when used within their intended range, stored properly, and returned to their lowest setting if the design requires it.
Drivetrain tools depend on compatibility
Drivetrain work is where many riders discover that bicycle tools are not one-size-fits-all. Chains, cassettes, cranksets, and bottom brackets have become more specialized, and the wrong tool can damage expensive parts quickly.
| Job | Common tools | Compatibility check |
|---|---|---|
| Check chain wear | Chain wear indicator | Match the tool to the chain speed and manufacturer guidance where required. |
| Replace a chain | Chain breaker, master-link pliers | Confirm chain speed, joining pin or quick-link type, and direction if applicable. |
| Remove a cassette | Cassette lockring tool, chain whip | Check whether the bike uses Shimano HG, Micro Spline, SRAM XD/XDR, or another driver standard. |
| Service a bottom bracket | Bottom bracket tool, torque wrench | Identify threaded, press-fit, external cup, or proprietary systems before purchase. |
| Remove crank arms | Crank puller or brand-specific tool | Modern cranksets vary widely; follow the component manual. |
A chain wear indicator is often the first drivetrain-specific tool worth buying. Replacing a worn chain at the right time can help protect cassette and chainring life. However, chain wear tools differ in measurement method, and some component makers provide specific guidance for their drivetrains. Treat the tool as a measuring aid, not as a substitute for the manual.
Cassette and bottom bracket tools should be purchased only after identifying the actual interface on the bicycle. Two bikes may both have 12-speed drivetrains but use different freehub bodies and lockring tools. The same applies to bottom brackets, where external, internal, press-fit, and brand-specific designs can look similar to non-specialists.
Brake, wheel, and tire tools require extra care
Brakes are safety-critical, so the line between home maintenance and professional service should be clear. Mechanical rim brakes and mechanical disc brakes are often approachable for careful home mechanics. Cable tension, pad alignment, pad replacement, and rotor checks can usually be handled with basic tools and a torque wrench. Hydraulic disc brakes add complexity because they involve fluid type, bleed blocks, syringes or funnels, hose fittings, olives, barbs, and manufacturer-specific procedures.
Do not mix brake fluids. Some systems use mineral oil, while others use DOT fluid. The wrong fluid can damage seals and compromise braking. Use the fluid type stated by the brake manufacturer, and avoid improvised substitutes. If brake levers feel spongy, pads are contaminated, hoses are damaged, or the procedure is unclear, the repair is better handled by a trained mechanic.
Wheel and tire tools are more accessible but still need judgment. A spoke wrench must fit the nipple size correctly; a loose fit can round nipples. Tubeless setup may require sealant, tape, valves, plugs, a valve-core tool, and sometimes a high-volume inflator. For rim inspection, remember that worn brake tracks on rim-brake wheels can be dangerous. For disc systems, avoid touching rotor surfaces with greasy hands, and use clean tools around pads and rotors.
In the United States, federal bicycle safety regulations administered by the Consumer Product Safety Commission cover areas such as braking, reflectors, assembly, and safety information. Those rules are directed at products and compliance, but they reinforce a maintenance principle for riders: brakes, wheels, steering, and visibility equipment are not decorative details. They are safety systems. See also: Buying Guides.
How e-bikes and modern components change the tool kit
E-bikes add weight, wiring, sensors, displays, motor mounts, battery systems, and software-controlled parts. They also put greater stress on tires, brakes, chains, and drivetrain components because of higher average weight and assisted torque. A standard home kit still matters, but it should be paired with more careful inspection habits.
For e-bike owners, safe tool planning starts with the manufacturer’s manual. Battery removal, connector handling, motor area access, and firmware-related work vary by system. Some tasks, such as replacing tires, adjusting mechanical accessories, lubricating chains, or checking bolt tightness, remain normal bicycle maintenance. Others, including motor diagnostics, battery faults, charger issues, and damaged wiring, should be left to authorized service channels.
PeopleForBikes has reported that e-bikes remain a major part of the bicycle market discussion, even as the broader U.S. bicycle business has faced inventory and sales pressure since the pandemic surge. For tool planning, the important point is not a single sales figure. It is that more households now maintain heavier, more complex bicycles. That makes accurate torque, brake knowledge, tire care, and manual-based service more valuable than a generic all-in-one kit.
A staged buying plan for bicycle tools
The most economical way to buy bicycle tools is to build around maintenance stages. This keeps the kit useful and helps avoid a drawer full of tools that do not fit your components.
- Roadside stage: Carry a mini pump or CO₂ inflator, spare tube or tubeless plug kit, tire levers, compact multi-tool, quick link, and identification for your chain size.
- Routine home stage: Add a floor pump, hex and Torx keys, chain lubricant, degreaser, brushes, rags, chain wear checker, and a basic repair stand if space allows.
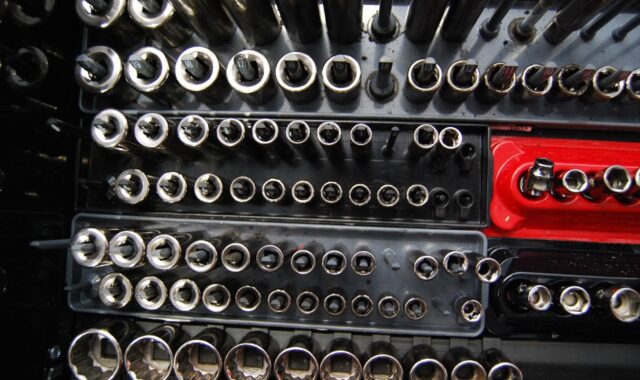
- Precision stage: Add a torque wrench, sockets or bits that fit your bike, rotor truing tool, cable cutters, pedal wrench if needed, and higher-quality measuring tools.
- Drivetrain stage: Buy chain pliers, cassette tools, a chain whip, bottom bracket tools, and crank tools only after identifying the exact component standard.
- Brake and wheel stage: Add bleed kits, spoke wrenches, tubeless tools, and wheel-specific tools only if you are confident in the procedure and have the correct manual.
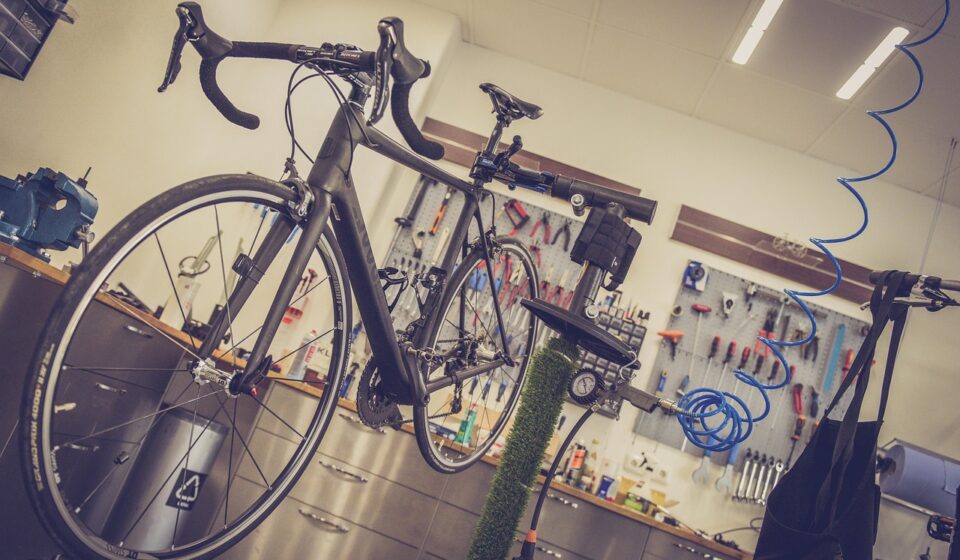
A repair stand is not essential for every rider, but it can make maintenance safer and cleaner. It holds the bike steady, improves access to the drivetrain, and reduces the temptation to balance the bicycle awkwardly while applying force. If space is limited, even a compact stand can be more useful than several specialty tools bought too early.
When not to do the repair yourself
Knowing when to stop is part of responsible bicycle maintenance. Avoid forcing seized fasteners, guessing torque values, or improvising on carbon parts, brakes, suspension, steering assemblies, or electrical systems. If a bolt turns without tightening, threads may be stripped. If a carbon seatpost slips repeatedly, the solution may involve paste, correct clamp design, surface inspection, or replacement rather than more torque. If a brake problem persists after adjustment, it is not worth gambling with stopping power.
ISO 4210:2023 covers safety and performance requirements for many bicycle categories, and its scope shows how many bicycle systems are treated as safety-related: brakes, steering, frames, forks, wheels, pedals, saddles, lighting, and reflectors. A home mechanic does not need to read standards documents to fix a flat, but the existence of those standards is a reminder that bicycles are engineered systems. The right tool is important because the part it touches may affect rider safety.
Frequently asked questions
What bicycle tools should a beginner buy first?
Start with a floor pump, tire levers, spare tubes or tubeless repair supplies, metric hex keys, common Torx keys, chain lubricant, cleaning brushes, and a compact multi-tool for rides. Add a torque wrench before adjusting stems, seatposts, handlebars, brakes, or carbon parts.
Is a bicycle multi-tool enough for home repair?
A multi-tool is useful on the road, but it is not ideal for all home repairs. Full-size hex keys, a proper torque wrench, quality cable cutters, and correctly sized sockets provide better control and reduce the risk of damaging fasteners.
Do I need brand-specific bicycle tools?
Sometimes. Tires, chains, and many cockpit adjustments use common tools, but cassettes, bottom brackets, cranksets, hydraulic brakes, and e-bike systems often require component-specific tools or procedures. Identify the exact part before buying specialty tools.
Can I service hydraulic disc brakes at home?
Some experienced home mechanics can, but the process must match the brake model, fluid type, bleed fittings, and manufacturer instructions. If braking performance is uncertain, professional service is the safer choice.
How often should I inspect my bicycle tools?
Inspect tools whenever they begin to slip, round fasteners, corrode, or lose calibration. Replace worn hex and Torx keys, keep cutting tools sharp, clean greasy handles, and check torque tools according to the maker’s guidance.